This is the rail fence or zigzag quilt. It's my work in progress. I decided to just share what I have done at this point. It's simple and yet pretty
boring. It isn't holding my attention very well. I decided to do this in two colors, but you can do as many as you like. I think this would be a great beginner's quilt.
Blogging has become a bit more difficult. I don't have the laptop anymore. It was the victim in the break-in. No one was hurt. So, we were lucky there. We are borrowing a desktop for now, and it can get really uncomfortable to sit here. I was using the kitchen chair. Pooie on that, I got hubby to move the sewing/office chair in the living room. Also, my camera finally bit the dust. I am never ever ever.. buying a cheap camera agian...my ode to Taylor Swift (my son loves that song). I have worked on several quilts since the last posting. There are pictures of them in this post.
I cut out each of my 3 inch strips from each fabric width. Placed them right sides together.
I sewed them together with the 1/4 inch seam. Open it up and press.
I used the seam to square up the end and take off the selvage to the right of the ruler. I am only cutting one strip here, but you can layer these strips and cut. Total time saver.
I flip it around and lay the ruler down lining it up with the middle seam and cut out 5 1/2 inch sections. Follow your seam the best you can. I can be prone to veering off a little. It's okay. Perfection is a dream.

Next, I place the blocks in sequence. Sew them right sides together. Open it and press. Then, continue as shown above making it the size you prefer.
Once the blocks are sewn together, pin each seam to line up.
Pin it at every seam.
It will look like this. Take and sew down the side and continue from the beginning. I will continue my efforts to keep pushing through the boredom.
Here, I used a giant sized coloring book and copied to white fabric with a sharpie in medium and fine. Then, I just colored it. I used regular crayon. Once they were colored, I took some fabric that you don't care about lay it on your ironing surface. Then, placed the picture side down and iron. Moving the iron slowly. This is setting the crayon. You will see the crayon almost come through the back. It was fun. I really enjoyed making these two.
Mater!
It was fun. I really enjoyed making these two.
I did Tinkerbell too.
.
I got a Dresden template with pattern. This is the mock up to see how hard it will be to get it together. It's not that hard, but I think I have worked out the kinks. I will also make a tutorial on this one too. These were scraps that were leftover from the table runner on point. I'm glad that I saved them. Fabric can always be put to good use.

We are also in the renovation process again. I found an amazing deal on tile for the laundry room. It was dreadful, and the popcorn ceiling was falling down. Part 1 of reno happened last weekend. Me and hubby scraped the ceiling. Bye bye popcorn! We took off the door casings and baseboard. Jason, Daniel (brother-in-law), and Jeremy (family friend and pretty much family) helped with pulling up the linoleum. It really wanted to stay there. That punched it up a notch on the difficulty level. While they were inside doing that, me and Terrie (sister-in-law) were outside sprucing up the accesories. We had two shelves that were wood. We painted those. The brackets were spray painted. The breaker box cover was also spray painted. I was scared of spray paint. Really, it wasn't that difficult. I made a beginner mistake of putting them on newspaper. Bad idea. Who's idea was it?? Not me..haha. Cardboard works great. We mudded and sanded the ceiling and walls. We painted the ceiling and walls. This weekend will be part 2 laundry reno.

Part 2 laundry reno. We took out the hot water tank. Jason had to replace the shutoff valve. I was sad to take out that hot water tank. It's still in the den. We are clean though. Don't worry. We laid the tile with Daniel's assistance. I was in it too. Slapping on the thinset and troweling it out. We placed the tiles and used the spacers. Then, let it sit over night. The next day, back to it again. This time it was the grout we were slapping on and pushing into the cracks. We washed that floor so many times. Hubby says 9. I was thinking 7. He could be right. If we would've been better at skimming off the grout, we wouldn't have had to wash so much. Lesson learned. The baseboard was cut right before dark. We set it in here for the pic. I still have to paint them. I am truly sore. I laid in bed yesterday and today thinking, what part hurts the most? I couldn't decide. So, I left it at the whole thing hurts. It's so worth it, though. It really looks great.

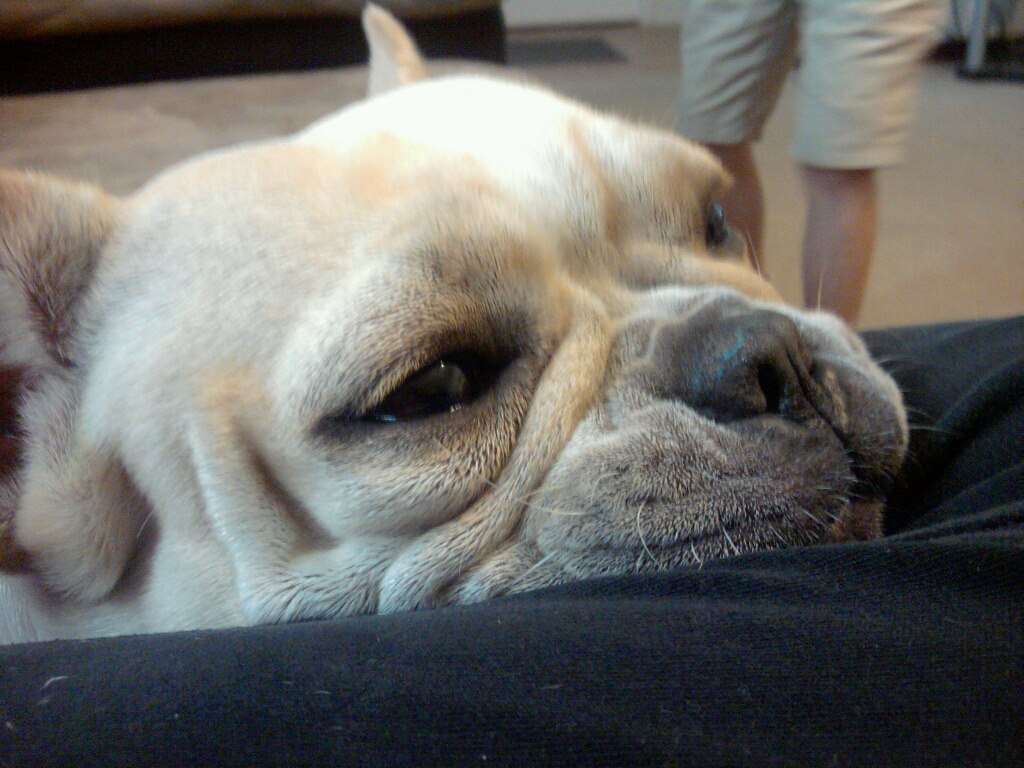
We recently got a new member to the family. This is Roxie our French Bulldog. She is so pretty, and she loves to cuddle. Tinkerbell and her are surprisingly getting along well. I am glad you stopped by to share all this with me. Blog at ya later.


.jpg)