September 27, 2013

Finish for Friday

The fish bowl quilt is done. I am so happy with how it came out! I tried a new technique for binding here. It was on my happy list to do. Which means, I get to keep it. It was thought up just for my living room, and it really does brighten it up with all the browns I have in there.


It has been really dreary here. So, not the best time to take photos. 
 
 
I'm also still working on the rings quilt. I am going to applique the pieces to the top today. Yay! This was on the summer list of to dos. Most of the placement will be like it is here.
 
Plus there is the Zakka Along


I have four of my MSBHQAL done. You can find the link with Molli Sparkles! Get your quilt on!!
 
 
Molli Sparkles

So many others are finishing. Eeek! I am behind. I just really have to work on these other quilts as well. Each block takes about 30 minutes for me to make once everything is cut. I have 12 more blocks which I decided to keep in these colors above.  I should e able to devote one day to the top, and then, one day to quilting. Maybe, just maybe, I can catch up.

Linking up with AmandaJean  here and with @ Confessions of a Fabric Addict.
 

September 24, 2013

Easy Binding

I am going to do a quick binding by machine. Some people like to hand sew it down. I am ok with machine binding. It's easier and quicker. When I make a  small project or anything artsy, I like to hand bind. I will do it. :P I just don't like taking all the time with it. This is an easy binding method, and  I loaded it with photos. Be warned. :)


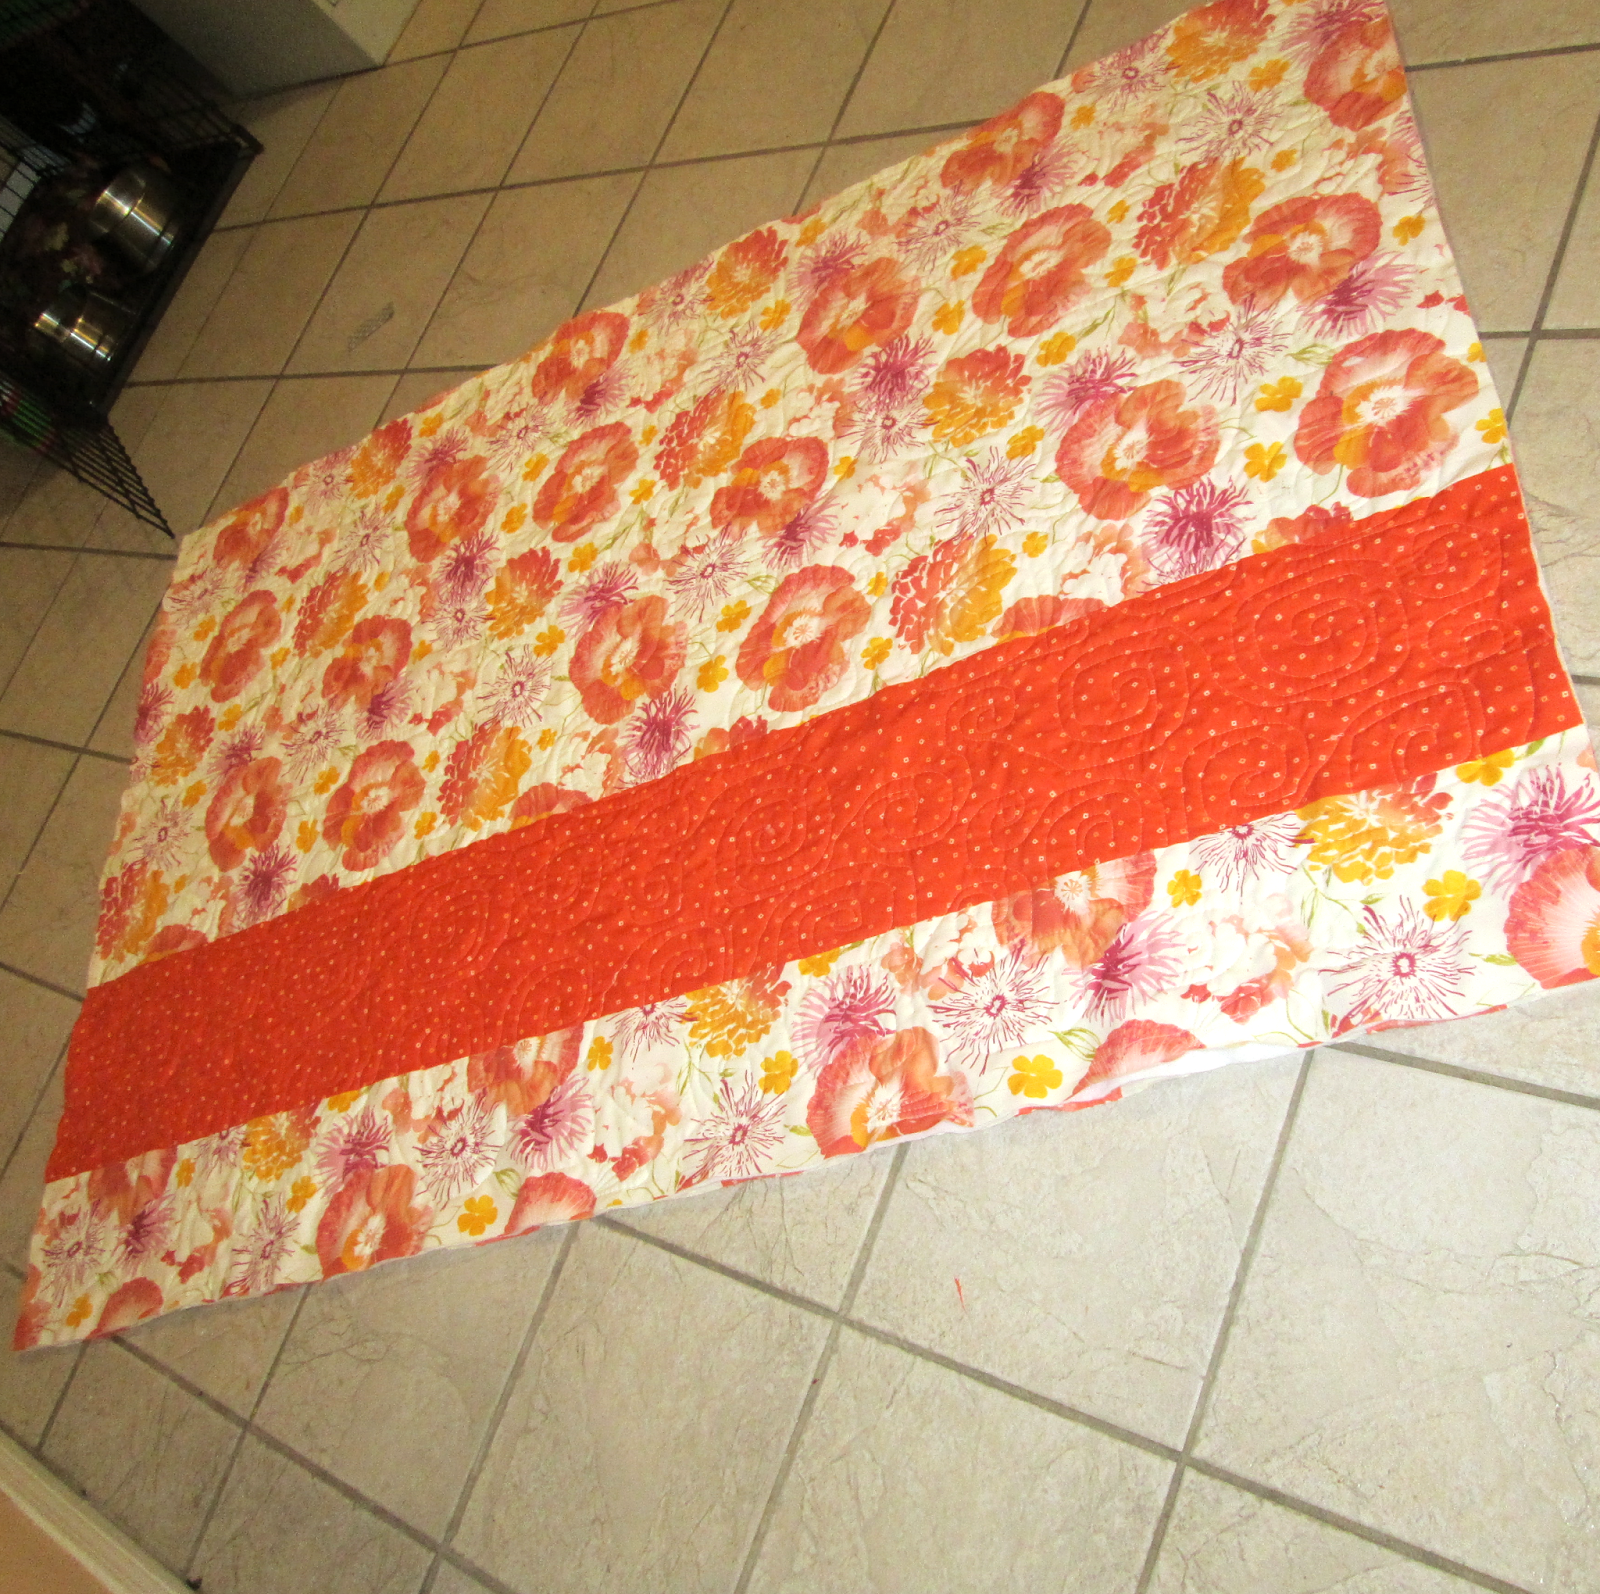
So, now we come to size and how much binding. I like 2 1/2 inch strips. The quilt measures 46"x70". I calculate the top measurement 46x2=92 and side 70 x2=140 and add about 10 inches. 92+140+10=242  I usually keep the extra that's leftover stashed  in a drawer. You never know when you might need to bind something small or make a little strap.


I use a single fold binding here.


 I cut those strips out. Now, I attach them right sides together.


Then, I press open the seam. This takes care of the bulk.
 
 
I just iron it right in half. On a smaller project that I am not going to be handling as much, I use a double fold.


I normally just leave the binding free and everything, but I thought I would give it a photo op moment.

 
Such pretty binding.

 
A walking foot is awesome here. It glides better over all the fabrics. I don't have a walking foot for the Janome, Since it is for upholstery, it can handle the layers.  I leave 5 inch tail when I start out. I backstitch on the beginning.


 I just line it up and go. When you are approaching the corner, you will stop a 1/4 inch from the edge. You can backstitch here too. Also, if you don't want to guess at the 1/4 inch stopping point. You could use a marking pen here.


Now, we are going to flip the binding back until it is running parallel with the next side that you are going to be sewing. I give that little 45 degree fold a little finger press.

 
 I like to keep my finger on that 45 degree angle, but I had to hold the camera. Then, I flip the binding back down in the direction I am going to sew from the edge and backstitch.

 
You can see the 45 degree angle here. You can kind of see what the folding action looks like here. Just repeat on all corners.


I overlap the binding and mark it where the seam will be at.  Then turn them over right sides together. Don't twist it. It happens. This is why you will like to leave the tail. Because you will need to fold up the quilt a bit to finagle it under the machine. Watch out for pulling.

 
I should have drawn a line here. Sorry about that. I have matched up the markings on the other side.


Now trim off excess. I would never suggest trimming first. Because I have completely had it twisted on previous occasions. Blah! You don't want that. My seam ripper is always handy.  Lay flat and sew down.


I press the binding out away from the backing. This is also good. Because you can make sure that nothing got missed and everything is attached the way it should be.


Instead of pinning, roll with me, I am going to glue. Yep, glue.  I have used this on the backing, and it worked really well. The prep is just as long as pinning. So, nothing lost there. Then, fold it down and iron it.


Then, fold it down and iron it down.
 
 
Here we are at the corner. You are going to give it a finger or iron press all the way out past the corner where it is making a 45 degree crease.

 
Now just lay the open side down, and make sure it matches at the bottom. If you look on the back the fold will be going in the opposite direction, and that's right.
 
 
Stitch it from the back in the ditch as shown above here.

 
This is what the front looks like. There is a lot of overhang. I guess, I could've cut the strips at 2 1/4"


I set the machine to needle down. Then, pivot.
 
 
This is what it looks like on the other side.

 
Now, the glue may not have really stuck here. This is what I am talking about with this method. Luckily, it was only that one spot that was like this. Yay! This is also why I didn't want to cut the strip smaller.


It's done! Hopefully this binding tutorial helps.
 
 
I hope all your quilting go smoothly! Blog at ya later!

September 23, 2013

Fish Bowl Quilt


I finally got this quilted and off the frame! I did really big swirls for the quilting. I tried to outline the fish, but the thing is the wheels needed to be sprayed with silicone.  Now, I know that I should do that every time. So, it was a bit joggy. I think I just made up that word.  I had to pick out so much quilting on this. It was insane!! Once the swirls went on it, I told myself, love or leave it, they R staying! . . I love taking photos at night with no lighting. Hey, I just take the picture whatever time it is. It's not the best, but when I put on the binding I will try to get a daylight picture. Noon is the best time. Just maybe I will be able to get the binding on before noon. :)


I love the backing. I think it turned out fab. I love, love, love that I get to keep it and put it in the living room to snuggle under. I mean, the new season of Castle is coming out, and I can get cozy and watch my shows. I can't wait. It really is a coincidence that there's some kind of make it for me sew along going on right now.
                                       

This back just seems really beachy. I love the large floral. In person it reminds me of corral. I was hooked. I just loved the coral that was on the front. So, I thought I would just add some in the back. What the heck. It was a super easy addition.
The quilting gave me fits. I tried corral. Then, decided against it. I tried to outline the fish. It wasn't working with the wheels needing to be oiled. So, I just went a little more basic. I just didn't want to do the meander.
Anywoo, that's what's going on in the sewing den. I'm in the recliner now relaxing. Blog at ya later.

September 22, 2013

Ipad Quilted Cover

     I got my Patchwork Please book not to long ago, and I made the Piece of Cake Shopping Bag. I really love this book! I just really wish that their were more photos.  Some of it leaves me wondering, what does that mean? 
Quilted Ipad Cover


I quilted some swirls on the front and some wheels on the sleeve. This is my first time working with snaps. It took me three times to get it right. First I smashed the snap with the hammer. Then, round two, I read the instructions . So, I used the spool and hammer. Then, I got the snap on the wrong side. So, I took a break. I came back two days later, and nailed it.
 
The pocket was tricky. There are really only finished pictures on this one. I took the 9"x11" pocket and folded it in half on the 11" part. I cut the interfacing 5.5"x5.5"  like the  directions said. I found the half mark on each. Then lined it up on the pocket. Anyway, it was done. A little confusing.
 
I barely understood the flap. I sewed the flap, left the opening, and turned it. Then, put the snap inside. It could've been put on the outside. It was just a personal choice. I'm not exactly sure why the pocket is not all together. I may adjust that as well next time.
 
Theres actually a pucker here that you can't see. The lovely pocket covered it up. I love how things hide little mistakes.
 
 
This is the back.
 
I like it. It's a mock up. At least, it's a learning experience. I am linking up with Debbie A Quilter's Table.


September 18, 2013

Swooning WIP

I have been really wanting to Swoon! There are so many people making these for the last few years, and I think this block is amazing every time I see it. I know what I love. Like  my love for Dresden Plate. I haven't seen one yet that I don't like. This is true with the swoon too!

Swoon!

I got this pattern not to long ago. Then, I couldn't figure out what fabrics to use. I did this one as a mock up. I am thinking I don't like the grey. It needs something else. Maybe an aqua on white. I am not sure. Now, that I felt it out, and really have gotten a sense of it. Hubby loves it, and that's what counts!
 
 
With everyone posting all there wonderful new stash treats, I got bit by the bug!!! Ya'll broke me! I literally hung in there for weeks with not caving in to the delightful beauties that everyone is posting. Just browsing online. I am happy with them though, and they will all be cut  and quilted shortly. I wish that there were more hours in a day. I get to excited, and I can't sleep!


Plus, they were on sale. So, I didn't go to far off the reservation.  However, there are some beauties I have my eye on in the store that just arrived. Anyway, these were bought specifically for reinventing the  Farmer's Wife blocks into  gems. I was not really happy with how the stash look was going, and I am putting a lot of work into it. Happiness is key, even if that means changing my mind. Ha!

 
This is Joann's Mod Kid. I love teal! So, this was a no brainer! I guess me being a Gemini is showing. Because one part of me, loves modern and the other part love traditional. I try to make it work.

 
This should look familiar.. I have nothing against Quilter's Showcase. Sometimes, they have some really good finds, and I will bring them home. I love all fabrics!

 
I really love these sweet prints. I used the ones on the bottom for the super huge tote. I am in love! Plus, birds. I couldn't resist how cute they were. They just jumped in the basket! ;)

 
I finally got the Fish Bowl quilt on the frame. Now, this beauty can take shape. While I am working on my Traditional Farmer's wife blocks. I have the design wall filled with modern delight. I am still playing with the placement. I still have a couple more rings that I can make too.  My favorite part is the circle grouping in the top right corner. I don't want to repeat it. I really want it to be organic and random. This sounds sooo artistic, and I'm really not in the slightest. At least, not in my mind.  These rings are actually cut from the other part of the Dresden Plate template. That ruler is versatile. Any ideas on placement or anything? I would love to hear it.
 
Hopefully, I will be able to quilt up the Fish Bowl for Friday. Happy sewing! Blog at ya later.
 

I will be linking up later with Lee..maybe she is still stuck listening to Ace of Base. Hahaha!

WIP Wednesday at Freshly Pieced
© Quilty Dream
Maira Gall